Check out these trail camera tips and improve your odds of success this hunting season.
Over the past few years, trail cameras have become an extremely important tool for big game hunters all over the world and they make great gifts for hunters, especially for deer hunters in the United States. However, like any tool, they must be used property in order to realize their full potential. There are a number of pretty common mistakes that most hunters make when first using trail cameras. Luckily, correcting most of those mistakes is relatively easy and doing so can significantly improve the quality of scouting that their trail camera can provide.
Today, I’ll share some tips for using a trail camera that I’ve learned the hard way over the years.
Trail Camera Security
Since they are a valuable item that is left unaccompanied out in the woods, an unsecured trail camera can be a very enticing target for a thief. This is especially true when using them on public land. There are three ways to secure your trail camera: by physically locking it to a tree or other mounting device, by placing it in an inconspicuous location where it is less likely to be noticed or stolen, and by registering the camera with the manufacturer and using a security code for operation.
Using some sort of device, like a cable lock, to secure a trail camera is an obvious way to secure your camera from a casual thief. However, it is not foolproof: a determined thief can cut the cable or even cut down the tree to steal the camera (I had this happen to me several years ago). Even if they cannot physically steal the trail camera, an unscrupulous person can still take your memory card or destroy the camera.
A more effective way of securing your trail camera is to locate it in a place where few people are likely to see it. After all, if a thief doesn’t know that the camera is there, he can’t steal it. This means placing the camera in a location far away from roads or other areas where lots of people move through. This has the added benefit of increasing the odds of getting useful photos from your trail camera because generally speaking, locations with lower amounts of human activity have more animal activity, especially of mature bucks.
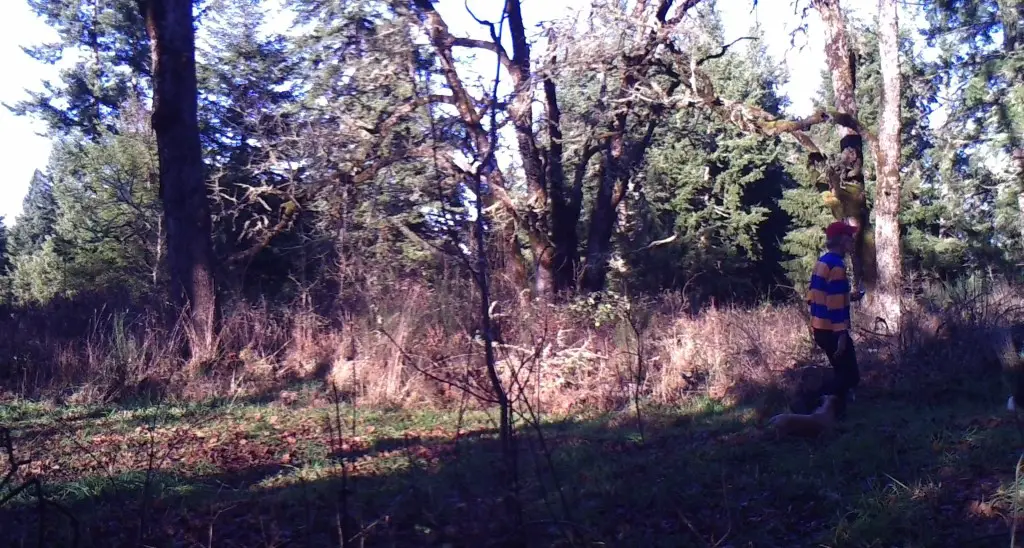
Finally, some trail cameras have a feature requiring a security code to operate it. Now this won’t necessarily prevent a thief from stealing your trail camera, but if you have the password feature enabled, this can potentially prevent a thief from using your camera in the event that they do steal it. Registering your trail camera with the manufacturer after purchasing it, that can assist in recovery of a stolen camera because the manufacturer will send the camera back to the registered owner if the thief sends it back to the factory to get the password reset.
Minimize Your Signature
A major mistake that many hunters make is not taking precautions to avoid spooking animals while placing or checking a trail camera and end up scaring the very animals they are trying to get photos of. Every time a person enters the woods, no matter how careful they are, they create a disturbance that can disrupt the behavior of animals by the noise they make and the scent that they leave. As time passes after they leave the woods, the evidence of their presence slowly dissipates and animals start to behave normally again.
When placing or checking on a trail camera, it is very important do all of the things that you usually do when hunting to avoid alerting animals in your vicinity to your presence. This includes things like staying downwind of likely deer locations, wearing rubber boots, using a cover scent or scent eliminating spray, not slamming your car door, etc. Don’t forget to take the same precautions with the trail camera itself: after I’m finished handling the camera, I like to spray it down with a scent eliminating spray (just be careful not to get any on the camera lens).
Another trap many hunters fall into is the temptation to check their camera for new photos too frequently. Checking the camera more often means more disruption of the animal routines in the area and therefore less chances of seeing a trophy animal. There are two ways to avoid this: by checking the trail camera no more frequently than once every 7-14 days, or by purchasing a wireless trail camera that can send photos to your cell phone in the form of text messages. Of these two, the wireless trail camera is the least intrusive, but is much more expensive and will only work if there is cell phone service in the area where the trail camera is set up.
Trail Camera Positioning
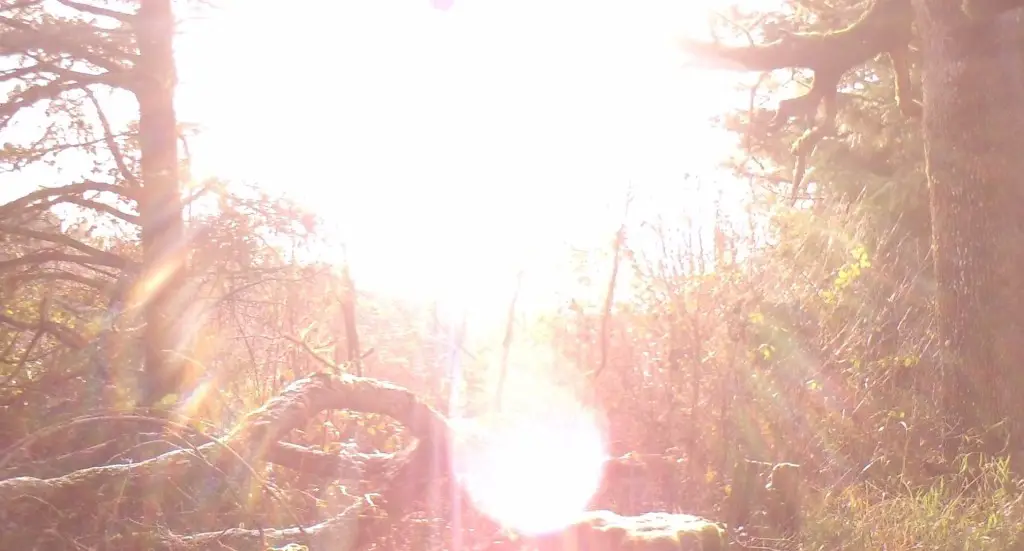
Proper positioning of a trail camera is probably the single most important factor in getting good photos. One commonly overlooked aspect of orienting a trail camera is the location of the sun relative to the subject of the photograph. For locations in the northern hemisphere, the trail camera should ideally face north. This will ensure that the sun is behind the camera, and help reduce the number of false triggers or “washed out” photos where no details are visible. If it is not possible to point the camera to the north, then face it south. Facing the camera directly west or east is least desired, as this will ensure that the camera is looking directly at the sun as it rises or sets.
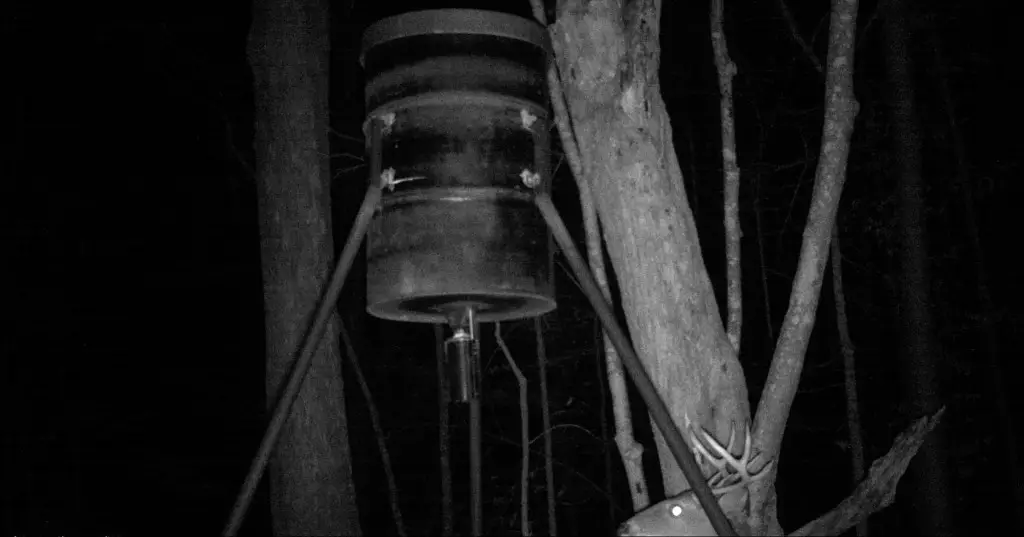
Additionally, when emplacing a trail camera, ensure that you trim branches and leaves around the camera. This will ensure that their movement will not accidentally trigger the camera when game is not present. Trimming branches around the camera will also ensure that the photographs are free from obstructions and better allow for easier identification of game in the photographs.
At the same time, ensure that the camera is positioned at an appropriate height. I’ve found that 2-3 feet off the ground works well. A camera emplaced any higher than that must have enough of a downward angle to avoid missing game completely. Remember, most animals aren’t very tall and can walk right by a camera without triggering it if the motion sensor is looking over the top of their head.
A trail camera can be a powerful scouting tool if used correctly. If used improperly, it can actually do more harm than good. Keep these points in mind next time you use your trail camera. Hopefully, you will not have to learn some of these lessons the hard way like I did.
Enjoy this collection of trail camera tips? Please share this article with your friends on Facebook and Twitter.
Make sure you follow The Big Game Hunting Blog on Facebook, Instagram, Twitter, and YouTube.
NEXT: 33 BEST HUNTING BOOKS EVERY HUNTER SHOULD READ
John McAdams is a proficient blogger, experienced shooter, and long time hunter who has pursued big game in 8 different countries on 3 separate continents. John graduated from the United States Military Academy at West Point and is a veteran of combat tours with the US Army in Iraq & Afghanistan. In addition to founding and writing for The Big Game Hunting Blog, John has written for outdoor publications like Bear Hunting Magazine, The Texas State Rifle Association newsletter, Texas Wildlife Magazine, & Wide Open Spaces. Learn more about John here, read some of John’s most popular articles, and be sure to subscribe to his show: the Big Game Hunting Podcast.



Thanks for great tips! I actually lost my first camera and i suspect it was stolen — too bad I didn’t read a post like this before that!
Great article! thanks for the tips! It’s funny how you don’t think of doing the small things the first time you take a trail camera out in the field (but quickly learn). I didn’t trim leaves around the cam the first time i used it…. got a whole load of pic of leaves, not many deer hahaha
Thank you for all the tips! I will definitely keep this in mind. Currently, I am using the Moultrie M-990i and I’m satisfied with the photographs that it captures. :)
Wow very nice tips i was looking for something like that.
I’m a bowhunter from the Little Rock area. I enjoy your posts. Thanks for writing!