Interested in finding out how to zero the back up iron sights on an AR-15? Keep reading for some step by step instructions.
Though many shooters these days use some sort of optic on their AR-15 as their primary sight, having a good set of back up iron sights is still a really good idea. However, though they are similar in many ways, the back up iron sights on an AR-15 are slightly different from iron sights on many other rifles. Here is a step by step guide on how to zero the back up iron sights on an AR-15.
This article covers only how to zero the back up iron sights on an AR-15. If you are looking for information on how to zero the scope on an AR-15, refer to this article instead.
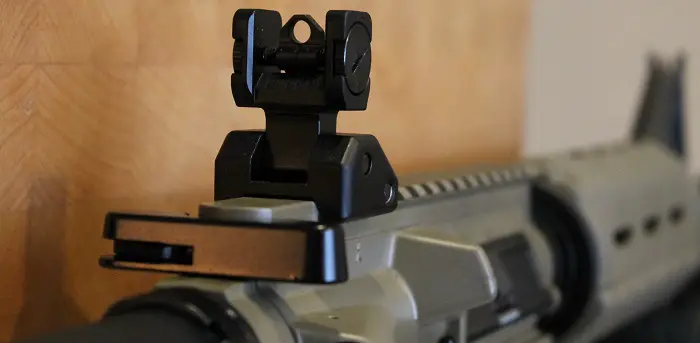
Many of the “flat top” AR-15s on the market today come ready to accept a back up iron sight (BUIS) to use in case something happens to the optics on the rifle. While they come in a wide variety of configurations, the basics of how to use them remain pretty much the same. By the same token, these instructions remain the same regardless of the cartridge your AR-15 is chambered in: .223 Remington, 6.5 Grendel, 6.8 SPC, .300 Blackout, etc.
BUY SOME GREAT AR-15 IRON SIGHTS HERE
First, ensure that your back up iron sights are properly installed and mounted securely to the rifle. If you are able to wiggle the sights with your hand, they are not secured properly.
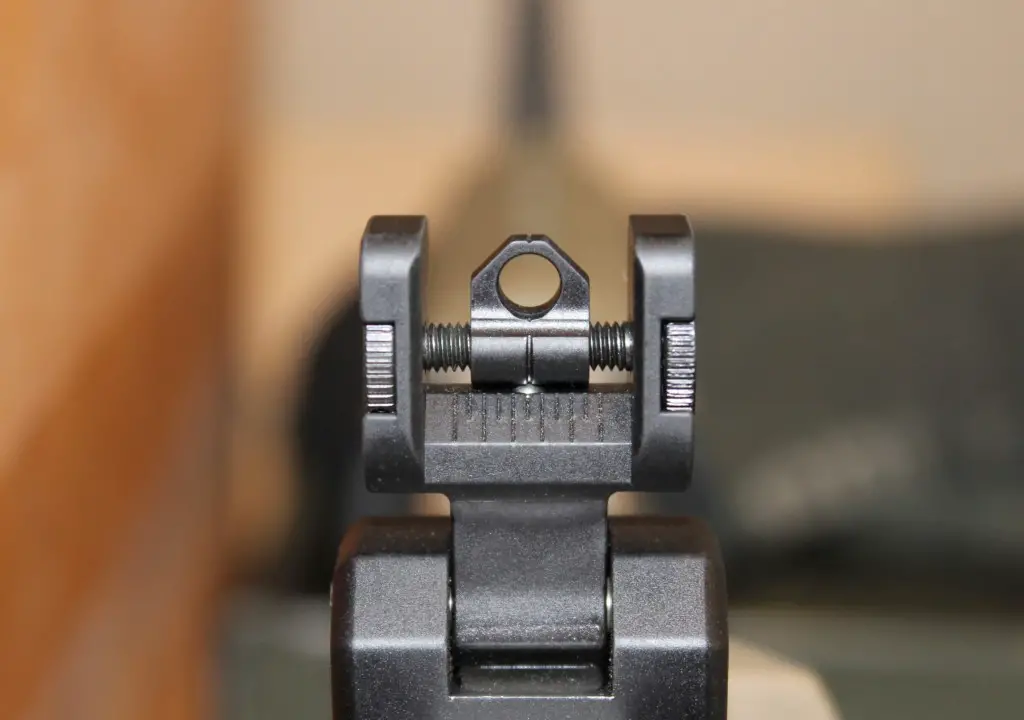
Second, mechanically zero your back up iron sights. For the rear sight, ensure that the aperture is exactly centered in the housing. To do this, adjust the aperture until it is adjusted all the way to one side. Then, count how many clicks it takes to adjust the aperture until it is all the way on the opposite side. Divide this number by two, then move the aperture back that number of clicks.

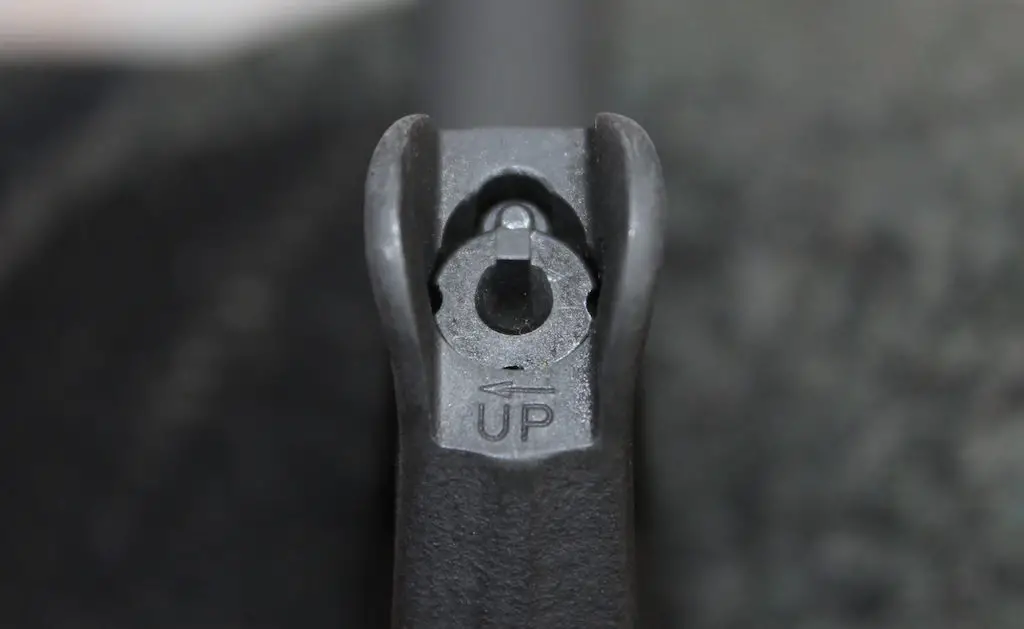
Assuming that you have a standard front sight, adjust the base of the front sight post until it is level with the sight housing in order to mechanically zero it. To do this, depress the detent on the front side of the post and turn the post at the same time. You can use the tip of a bullet, a multi-tool, a nail, or a specially designed front sight adjustment tool to accomplish this.
BUY A FRONT SIGHT ADJUSTMENT TOOL HERE
After mechanically zeroing the back up iron sights, you’re ready to start shooting. I like to shoot at 25 yards, then move out to longer ranges after I adjust my sights. This saves time, ammunition, and frustration in the long run by ensuring that my shots are at least on the paper. Don’t worry too much about the type of target you use. Almost any target will work, as long as it has a distinct aiming point.
Just like when zeroing any rifle, it is very important that you shoot using a very stable, supported position when zeroing your back up iron sights. Try to avoid supporting the rifle with your muscles and use a stable object like a shooting bag or a lead sled instead.
BUY A LEAD SLED SHOOTING REST HERE
From a steady shooting position, fire three shots at the center of your target at 25 yards (or whatever range you are shooting at). After firing your first group, check the target. Measure from the center of the group to your aiming point, and adjust your sights accordingly.
For most sets of back up iron sights, you must adjust the front sight to move the impact of the bullet up or down and adjust the rear sight to move the bullet impact left or right. As you can see in the photo above, turning the front sight post clockwise will raise the point of impact of the bullet. On this same rifle, turning the rear sight adjustment knob clockwise moves the bullet point of impact to the right.
However, different AR-15 variants will often have different MOA adjustment values. On some rifles, 1 click on the front sight will move the bullet impact 1.2 MOA (~1.2″ at 100 yards), while others will move the bullet impact 1.5-2 MOA. The same goes for the rear sight and you can expect 1 click to move the bullet impact .5-.75 MOA, depending on the rifle. The only way to be 100% sure with your rifle is to take it to the range and experiment with it.
Also, don’t forget that when shooting at 25 yards, you will need 4x the number of clicks (4 MOA= ~1″) to move the bullet impact the same distance at 25 yards as you would at 100 yards. For example, assume that I shot a group at 25 yards that hit 1″ high and 2″ to the left with a rifle that has 1.25 MOA elevation and .5 MOA windadge adjustments. Since I need to move the bullet impact down and to the right, I’d rotate the front sight 3 clicks counterclockwise (round to the nearest whole number) and adjust the rear sight 16 clicks clockwise.
After making the required number of adjustments, shoot another group. If that group hits where you’re aiming, your AR-15 is now zeroed at 25 yards. If not, make the necessary adjustments to your sights and continue shooting until you have a good 25 yard zero.
Using the same techniques described earlier, you can now start shooting at longer range, if desired. Since you zeroed the rifle at 25 yards, it should be at least hitting the paper at 50 or 100 yards. The only difference now is that you need to remember that the number of clicks necessary to move your bullet impact at 50 or 100 yards is different than at 25 yards. At 50 yards, moving your sight 2 MOA = ~1″ and at 100 yards 1 MOA = ~1″.
There is a lot of debate in the shooting community about the best distance to zero your AR-15 at. The correct answer all depends on the specifics of your rifle and ammunition as well as the typical distances you plan to shoot your rifle at. For most people, a 50 or 100 yard zero for their back up iron sights is perfect.
Regardless of what range you choose for your final zero range, after you’ve made your final adjustments, fire one last group to confirm your zero. If your group hits where you were aiming, you’re done. While you hope to never have to use it, a good back up iron sight will hold a zero for a very long time.
I hope you found my description of how to zero the back up iron sights on an AR-15 useful and interesting. Are there any other tips or tricks out there that I might have forgot to mention?
Enjoy this article on how to zero the back up iron sights on an AR-15? Please share it with your friends on Facebook and Twitter.
Make sure you follow The Big Game Hunting Blog on Facebook, Instagram, Twitter, and YouTube.
NEXT: THESE ARE THE 5 BEST MILITARY SURPLUS RIFLES FOR HUNTERS
John McAdams is a proficient blogger, experienced shooter, and long time hunter who has pursued big game in 8 different countries on 3 separate continents. John graduated from the United States Military Academy at West Point and is a veteran of combat tours with the US Army in Iraq & Afghanistan. In addition to founding and writing for The Big Game Hunting Blog, John has written for outdoor publications like Bear Hunting Magazine, The Texas State Rifle Association newsletter, Texas Wildlife Magazine, & Wide Open Spaces. Learn more about John here, read some of John’s most popular articles, and be sure to subscribe to his show: the Big Game Hunting Podcast.


After all adjustments I’m still shooting approx 6″ low do I need to slide my front sight back further or do I have to raise my rear sight
My ar is a flat top no sites what so ever not even a front sight which usually has the pressure block or gas tube block on it so do I pull my front sight back or raise my front
If your bullets are hitting low, you need to raise the rear sight. If you can’t raise the rear sight any further, then you need to lower the front sight.
John
Front sight is different from the rear sight. If you’re hitting low, you need to lower the front sight. If your hitting left (and adjusting a front sight to fix it) you move the front sight to the left to bring impact closer to center.
The rear sight would be as you described where if you’re hitting left, you move the rear sight to the right or hitting low so you raise the sight.
Standard A2 front sight and Samson fixed rear sight. Zeroing at 50 yards. I believe this article says that 2 clicks on either sight equals 1″ movement of the bullet strike. Sound right?
At 50 yards, 2 clicks with your front sight will probably move the bullet impact 1.2-1.5″. 2 clicks with your rear sight will probably move bullet impact .5″ at that same range. It’s confusing, I know!
Hope this helps,
John
Thanks for the refresher. It brought back the memory of using the tip of the rifle cartridge to change zero in the army. Yes, that is how they instructed us. A cleaning rod tip would work also.
Haha. Yeah, that’s how I learned to do it in the Army as well!